UPDATE: With v1.32.6, there is now a “Local Area Network” button right on the main screen, so this guide is essentially obsolete.
UPDATE: With v1.23.2, button labels are little different than what’s described here making it a little more obvious on how to find LAN games. Specifically, when offline, the “Custom Games” button changes to “Local Area Network”.
There’s been some confusion about the ability to play LAN games with the new Reforged client.
LAN games do exist! Unfortunately though, getting them set up is not as intuitive as it used to be. Hopefully as the game is developed, Bliz will streamline the process… a whole helluva lot. As such, I’m posting this tutorial for those who may be interested in/wondering how to do it.
Most of the pics can be enlarged by clicking on them.
A-1) Starting While Offline
Launch the game. The login screen will appear. Click “Play Offline” at the bottom.
SKIP TO STEP “C” BELOW
A-2) Starting While Online
Launch the game. While it opens, for a split second, a blank login screen appears, except for the buttons along the bottom. You can ignore the “Play Offline” button on this screen.
B) On the main screen, click the Menu button in the lower right:
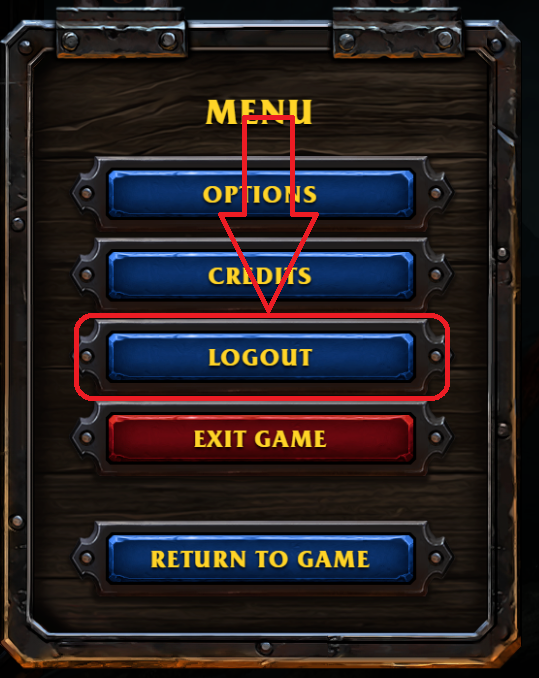
Then click the “Logout” button:
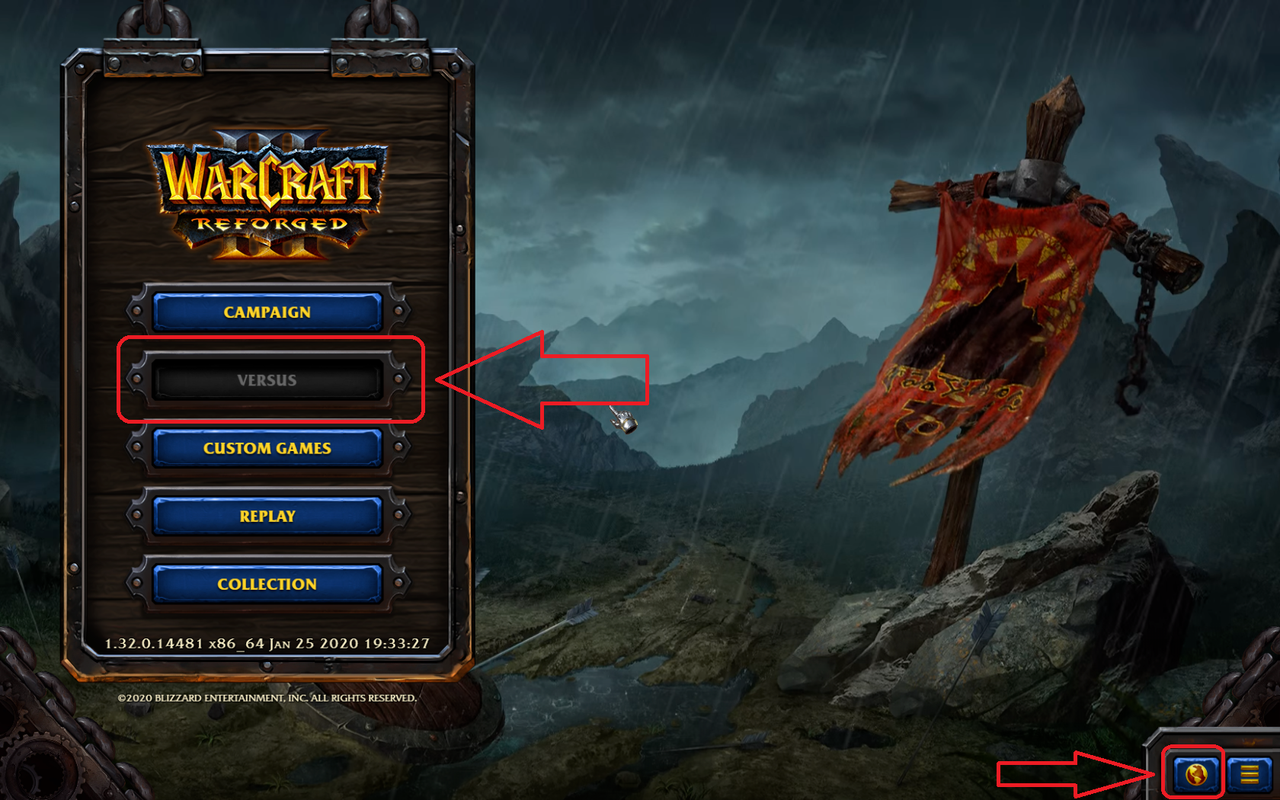
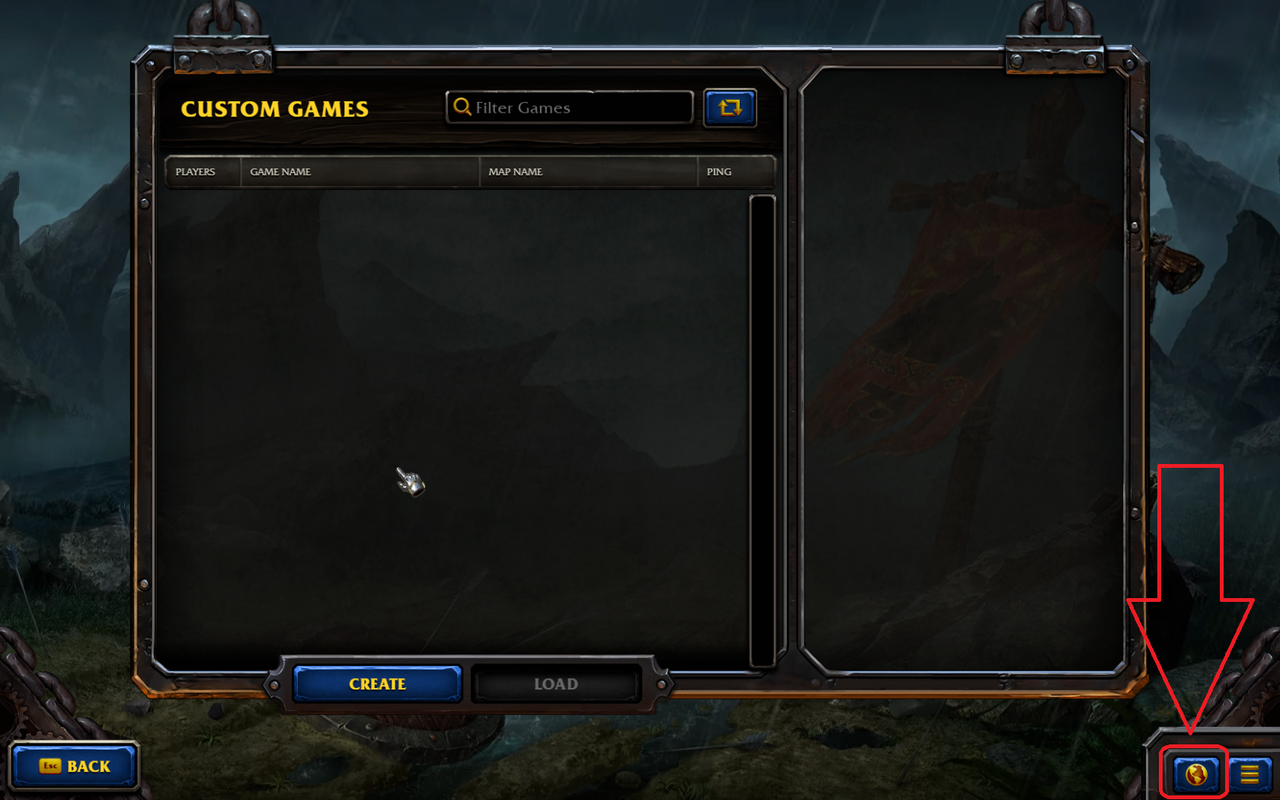
C) On the main screen, you’ll know you’re offline by the absence of Versus mode and the presence of a globe icon in the lower right (it will be the Friends List icon if you are online):
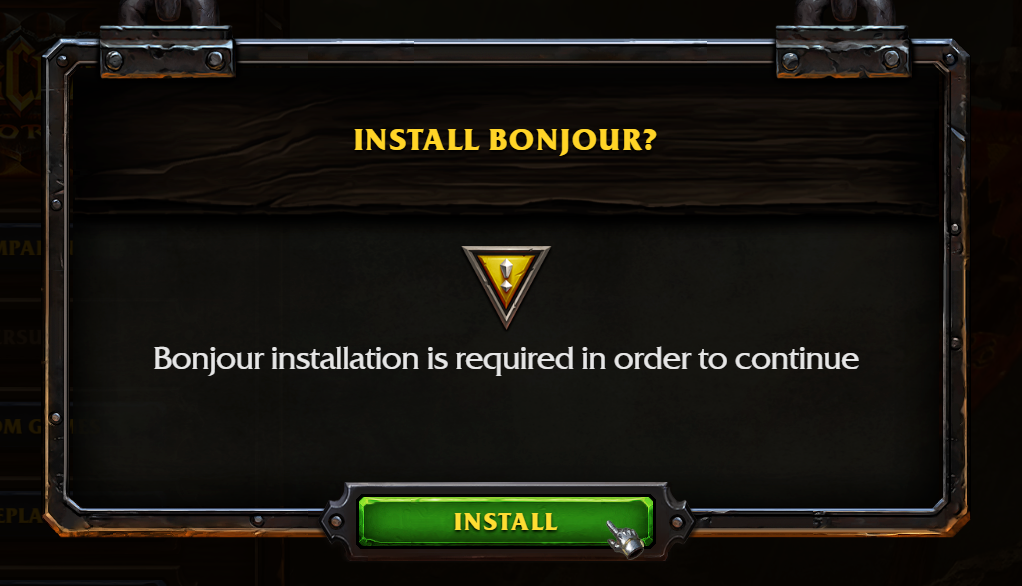
D) Click “Custom Games”. Click “Local Area Network” (This is the label change referred to at the beginning.). You may get a screen requesting that you install Bonjour if it’s not already installed on your system. Bonjour a lightweight network configuration tool used to facilitate device discovery on a network. (It’s Googleable if you want to read about it.):
After the installation, the game list screen will open (with the globe icon still present):
From here, it’s fairly straight forward for the seasoned player. However, if not, read on.
E-1) Joining Existing Lobby
If you are joining to an existing lobby, select it in the list and click “Join”.
NOTE: It may take a moment for the clients to find each other. It was 3-7 seconds on average for me over my wireless.
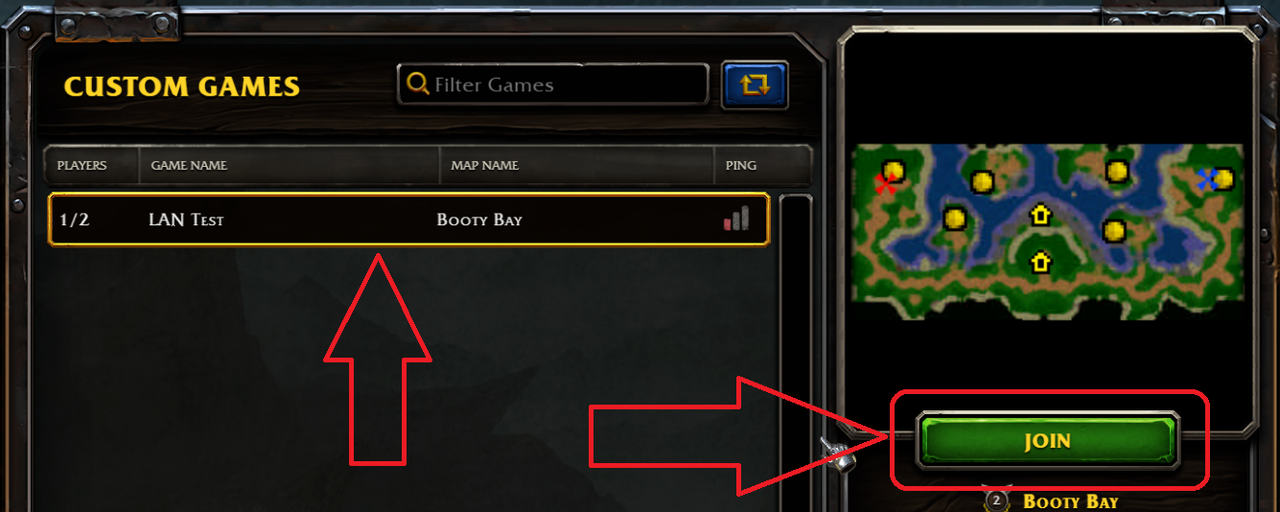
Then supply/confirm a player name and you’ll be taken to the game lobby to await the start of the game.
E-2) Creating a Lobby
If you are creating a lobby, click “Create”. Give the lobby a name, pick your map and options then click “Create”:

Then supply/confirm a player name and you’ll be taken to the game lobby.
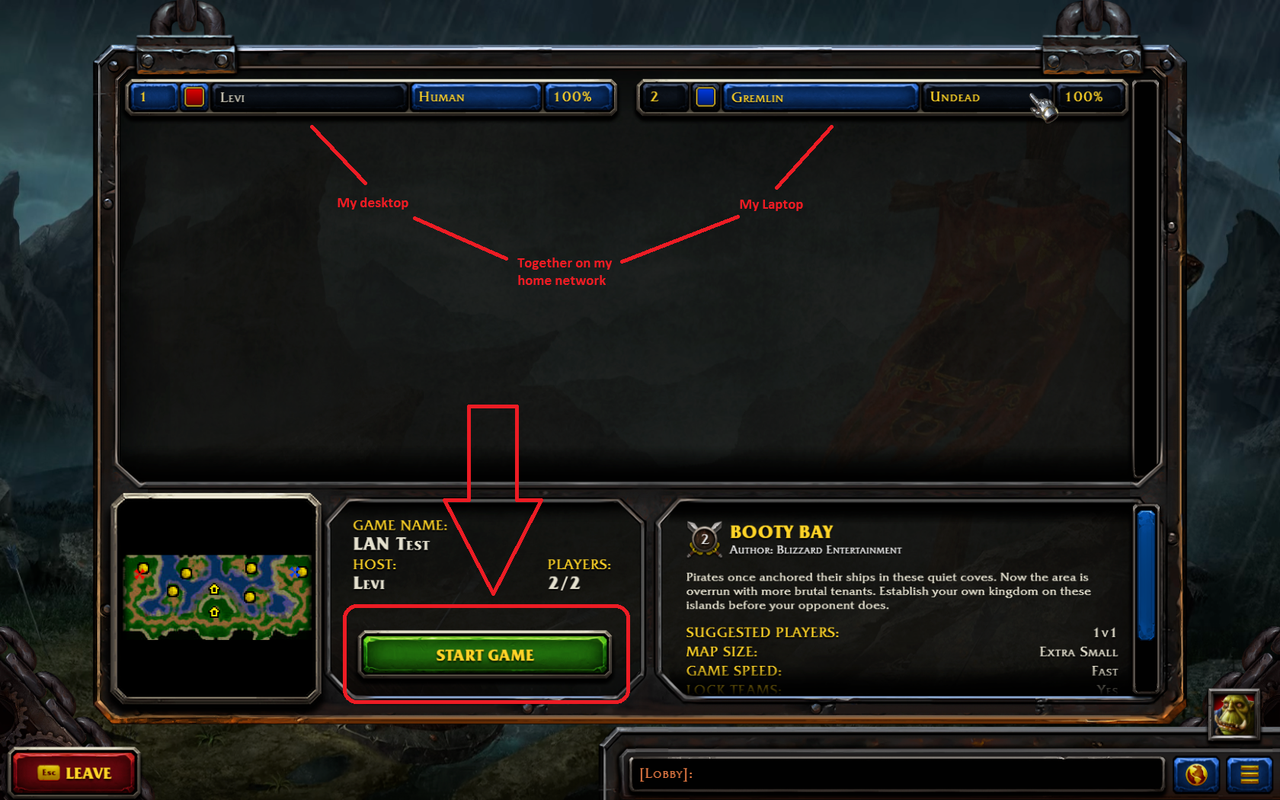
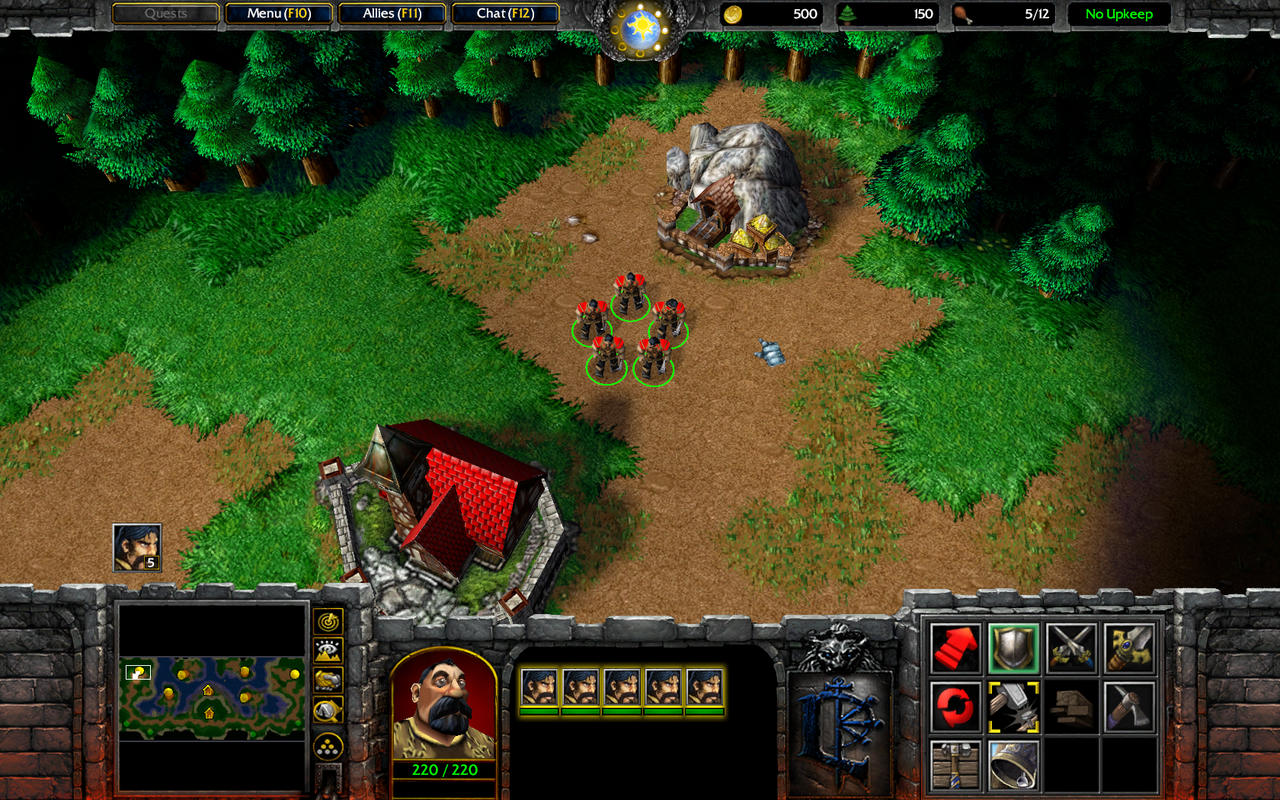
F) Finally, let the rest join and click “Start Game” and you’re on your way:
There was some bugginess here and there, not too bad though:
- Sometimes it took a lot longer for the game list to detect and populate.
- Sometimes an old game that had ended still showed up in the game list.
- Jumping in and out of the lobbies sometimes resulted in a blank game list. Dropping out of Custom Games and going back in usually helped.

